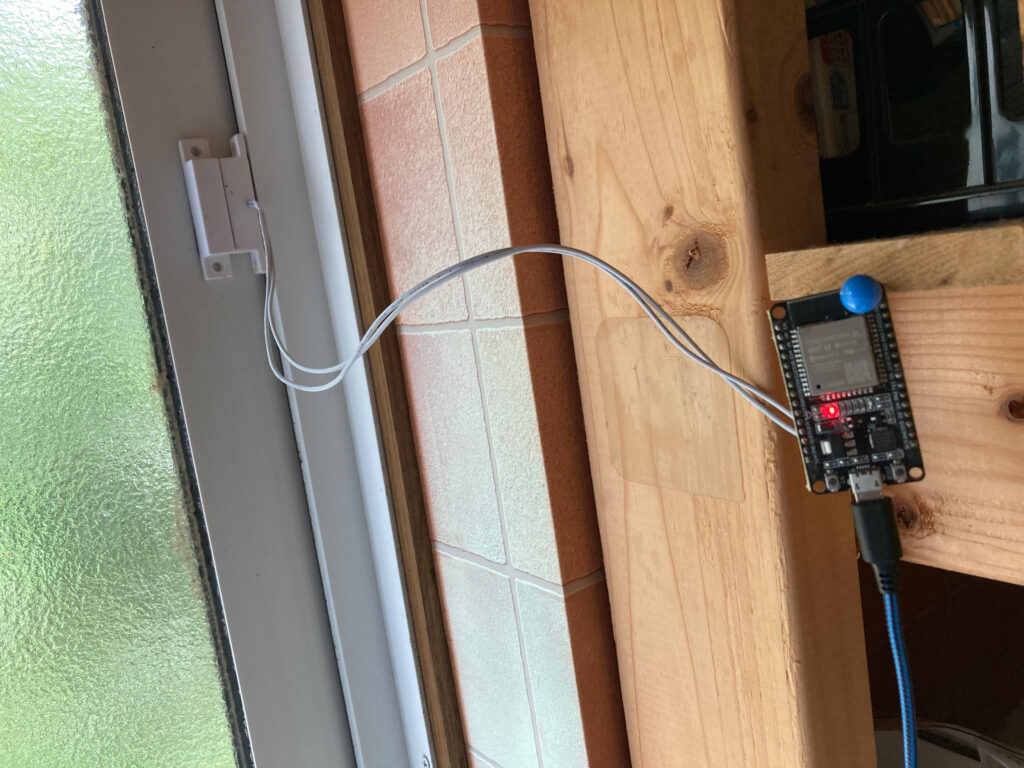
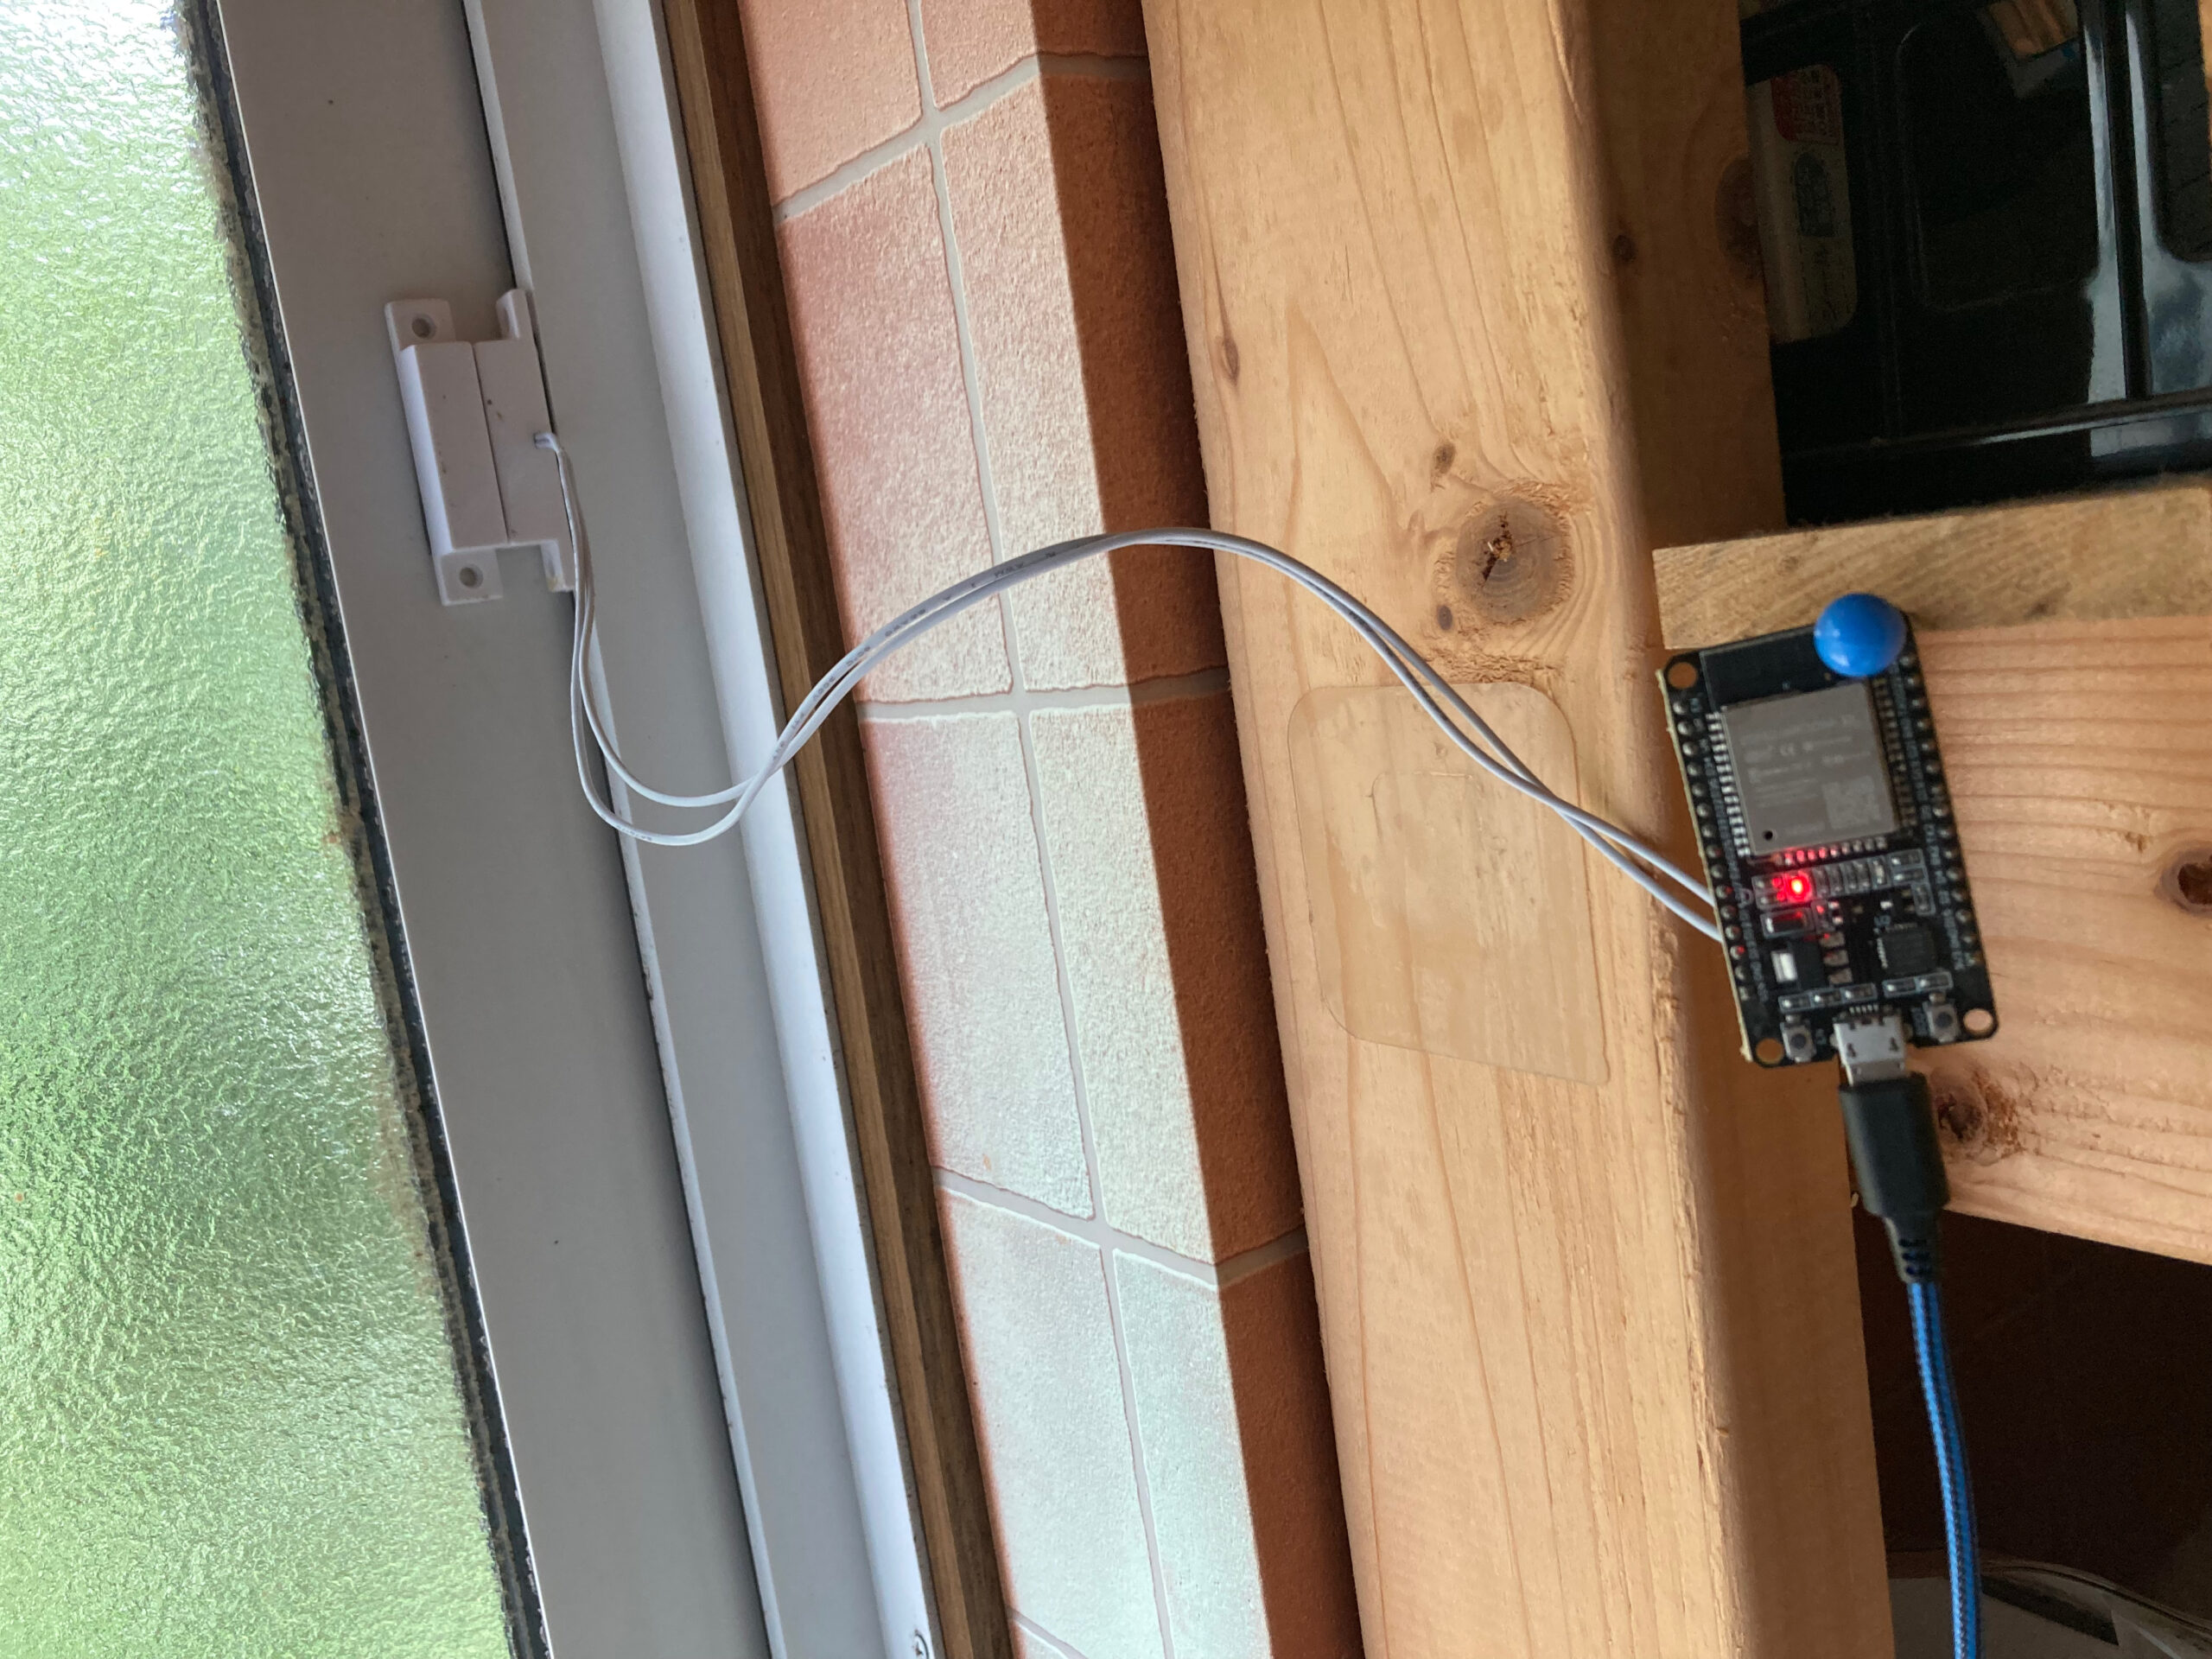
玄関ドアの開閉通知では画像の送信をしたかったのでUSBカメラが使えるラズパイを使用したが、カメラを使わないならばESP32でやるのもアリだ (ESP32でもカメラが使えないわけではないがUVCのように手軽には扱えない)。キッチンの勝手口は基本、家族以外に出入りは無いし、ここから「誰かが帰って来た」とかも無いので画像を得る必要はない。

キッチンの勝手口の開閉通知をESP32に実装してみる。プログラムの考え方は
と、同じ。
#include <WiFi.h>              //Wi-Fi
#include <WiFiClientSecure.h>  //Wi-Fi
#include <ESPmDNS.h>           //OTA
#include <WiFiUdp.h>           //OTA
#include <ArduinoOTA.h>        //OTA
int doorsw = 13;
#define JST 3600 * 9
#define LED_BUILTIN 2

String hostname = "DOOR_SW";

// WiFi設定
const char* ssid = "Your SSID";
const char* password = "Your PASSWORD";
IPAddress ip(192, 168, 11, 242);     //ESP32のIPアドレスを固定する場合のアドレス
IPAddress subnet(255, 255, 255, 0);  //ESP32のIPアドレス固定する場合のサブネット
IPAddress gateway(192, 168, 11, 1);  //ルーターのゲートウェイを入れる
IPAddress DNS(192, 168, 11, 1);      //DNSサーバーの設定(使用せず)
bool done = true;
void setup() {
  pinMode(doorsw, INPUT_PULLUP);
  WiFi.config(ip, gateway, subnet, DNS);  //IP固定の設定
  // initialize serial communication port at 115200 bits per second:
  Serial.begin(115200);
  Serial.println();
  Serial.print("Connecting to ");
  Serial.println(ssid);

  // WiFi接続
  WiFi.disconnect(true, true);
  WiFi.mode(WIFI_STA);
  WiFi.setHostname(hostname.c_str());
  WiFi.begin(ssid, password);
  while (done) {
    Serial.print("Wi-Fi connecting");
    auto last = millis();
    while (WiFi.status() != WL_CONNECTED && last + 5000 > millis()) {
      delay(500);
      Serial.print(".");
    }
    if (WiFi.status() == WL_CONNECTED) {
      done = false;
    } else {
      Serial.println("Retry");
      WiFi.disconnect(true, true);
      ESP.restart();
    }
  }
  Serial.println("Wi-Fi connected.");
  Serial.println("IP address: ");
  Serial.println(WiFi.localIP());

  configTime(JST, 0, "ntp.jst.mfeed.ad.jp", "jp.pool.ntp.org");
  delay(5000);
  send_Line("起動OK!");

  ArduinoOTA
    .onStart([]() {
      String type;
      if (ArduinoOTA.getCommand() == U_FLASH)
        type = "sketch";
      else  // U_SPIFFS
        type = "filesystem";
      Serial.println("Start updating " + type);
    })
    .onEnd([]() {
      Serial.println("\nEnd");
    })
    .onProgress([](unsigned int progress, unsigned int total) {
      Serial.printf("Progress: %u%%\r", (progress / (total / 100)));
    })
    .onError([](ota_error_t error) {
      Serial.printf("Error[%u]: ", error);
      if (error == OTA_AUTH_ERROR) Serial.println("Auth Failed");
      else if (error == OTA_BEGIN_ERROR) Serial.println("Begin Failed");
      else if (error == OTA_CONNECT_ERROR) Serial.println("Connect Failed");
      else if (error == OTA_RECEIVE_ERROR) Serial.println("Receive Failed");
      else if (error == OTA_END_ERROR) Serial.println("End Failed");
    });

  ArduinoOTA.begin();

  Serial.println("Ready");
  Serial.print("IP address: ");
  Serial.println(WiFi.localIP());
}

// スイッチの変数宣言
int new_State = 0;
int old_State = 0;

// Close=0 Open=1
// the loop routine runs over and over again forever:
void loop() {

  ArduinoOTA.handle();
  ///////////////////////
  time_t t;
  struct tm* tm;
  static const char* wd[7] = { "Sun", "Mon", "Tue", "Wed", "Thr", "Fri", "Sat" };
  t = time(NULL);
  tm = localtime(&t);

  if ((tm->tm_min == 58) && (tm->tm_sec == 40)) {
    if (tm->tm_hour == 17)
      ESP.restart();
    }
  }
  // read the input pin:
  new_State = digitalRead(doorsw);

  if (old_State == 0 && new_State == 0) {
    Serial.println("Close");
    digitalWrite(LED_BUILTIN, LOW);
    delay(1000);
  }
  if (old_State == 1 && new_State == 1) {
    Serial.println("Open");
    digitalWrite(LED_BUILTIN, HIGH);
    delay(1000);
  }
  if (old_State == 0 && new_State == 1) {
    Serial.println("Close --> Open");
    digitalWrite(LED_BUILTIN, HIGH);
    delay(1000);
    send_Line("ドアが開いたようだ!");
    delay(1000);
  }
  if (old_State == 1 && new_State == 0) {
    Serial.println("Open --> Close");
    digitalWrite(LED_BUILTIN, LOW);
    delay(1000);
    send_Line("ドアは閉じられた!");
    delay(1000);
  }
  old_State = new_State;
}

// LINE Notify設定
const char* host = "notify-api.line.me";
const char* token = "Your TOKEN";


// LINE通知
void send_Line(String message) {

  // HTTPSへアクセス(SSL通信)するためのライブラリ
  WiFiClientSecure client;

  // サーバー証明書の検証を行わずに接続する場合に必要
  client.setInsecure();

  Serial.println("LINE Connection Try!");

  // LINEのAPIサーバにSSL接続(ポート443:https)
  if (!client.connect(host, 443)) {
    delay(2000);  //2秒
    Serial.println("LINE Connection failed");
    delay(2000);        //2秒
    return;
  }
  Serial.println("LINE Connected Success!");
  delay(2000);        //2秒

  // リクエスト送信
  String query = String("message=") + "\n" + message;
  String request = String("") + "POST /api/notify HTTP/1.1\r\n" + "Host: " + host + "\r\n" + "Authorization: Bearer " + token + "\r\n" + "Content-Length: " + String(query.length()) + "\r\n" + "Content-Type: application/x-www-form-urlencoded\r\n\r\n" + query + "\r\n";
  client.print(request);
  delay(5000);  //5秒

  // 受信完了まで待機
  while (client.connected()) {
    String line = client.readStringUntil('\n');
    if (line == "\r") {
      break;
    }
  }
  String line = client.readStringUntil('\n');
}
要らない要素も多々あるとは思うが、OTA(Over The Air)で書き換え可能なように作ってある。固定IPでWi-Fi接続をする理由は家庭内の都合。勝手にIPを振るDHCPにあると何がどれだかわからなくなるから。で、時計を合わせ、後はひたすらマグネットスイッチを監視するだけ。
if ((tm->tm_min == 58) && (tm->tm_sec == 40)) {
    if (tm->tm_hour == 17)
      ESP.restart();
    }
どうしても一日一回再起動しないとコケるようなので、これは必須。17:58:40にしている理由は特にない。何時でも構わない(この辺何も影響がなさそうという理由)。

こんな感じにLINEが飛んでくる。防犯対策には良いだろう。


